Building Real-time Public Transport Tracking System on Azure - Part 7 - Packing Everything Up
This is next post in series about real-time public transport tracking system development based on Azure infrastructure and services. This article is a part of Applied Cloud Stories initiative - aka.ms/applied-cloud-stories.
Blog posts in this series:
- Part 1 - Scene Background & Solution Architecture
- Part 2 - Data Collectors & Composer
- Part 3 - Event-Based Data Delivery
- Part 4 - Data Processing Pipelines
- Part 5 - Data Broadcast using gRPC
- Part 6 - Building Frontend
- Part 7 - Packing Everything Up
- Part 7.1 - Fixing Docker Image Metrics in Azure
Background
This is blog post in series about building real-time public transport tracking system on Microsoft Azure cloud services. Now it’s time to pack up and deploy services to cloud for smooth production run.
In ideal case - you would be looking for a way to deploy gRPC service to Azure App Service but this is not possible. And here we are - original issue was raised on Apr 3, 2019. As proper support for gRPC services to be hosted on IIS - this involves changes in IIS and also Windows kernel. Latter for sure means that this process gonna take a while before it lands in Azure (requires Windows update).
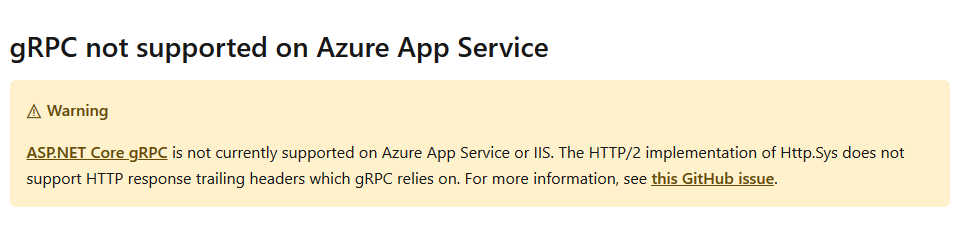
It’s even stated in official docs.
However, we can’t wait till issue is fixed and we can deploy. We have to find some workaround for this.
Create Container Image for gRPC Service
One thing is for sure - hosting gRPC service anywhere, we will need to build docker image for it. Whether it will Azure Container Instances (ACI), Azure Kubernetes Services (AKS) or any other service - we gonna need an image for it.
Add Docker Support
I’m not going to write an introduction about containers here and what they are, there are plenty of really good content already out there. So if you need to load knowledge about “container-fu” - search of it online and you will find good ones.
Let’s get started with containers. In order to start messing with container, we add support for it right in Visual Studio.
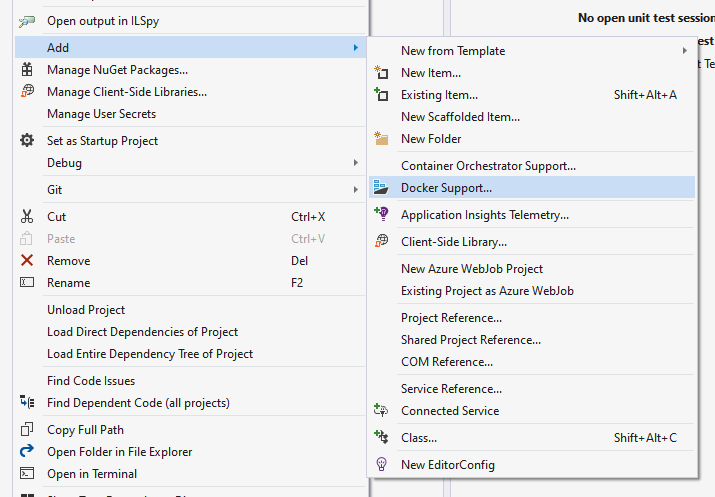
You will be asked to choose container OS type.
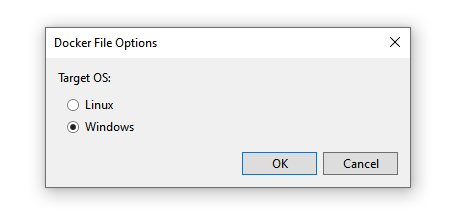
I chose “Windows” as I’m working on that OS everyday.
At the end of the process Visual Studio Tools for Docker will add “Dockerfile” file and couple of attributes inside .csproj file to support building Docker images for your project.
Most of the work is done (more or less). Or at least we got skeleton to start working on.
Visual Studio Tools for Docker generates quite good “Dockerfile” that we just slightly need to modify.
Here is modified file (some of fragments are removed for brevity):
1
2
3
4
5
6
7
8
9
10
11
12
13
14
15
16
17
18
19
20
21
22
23
24
FROM mcr.microsoft.com/dotnet/core/sdk:3.1 AS build

WORKDIR /src
# copy main project
COPY ["src/GrpcService/GrpcService.csproj", "src/GrpcService/"]

# copies also other dependencies
COPY ["src/Abstractions/Abstractions.csproj", "src/Abstractions/"]
# COPY ["src/...csproj", "src/.."]

RUN dotnet restore "src/GrpcService/GrpcService.csproj"
COPY . .
WORKDIR "/src/GrpcService"
RUN dotnet build "GrpcService.csproj" --no-restore -c Release -o /app/build

FROM build AS publish
RUN dotnet publish "GrpcService.csproj" -c Release -o /app/publish

FROM mcr.microsoft.com/dotnet/core/aspnet:3.1-nanoserver-1809 AS final
USER ContainerAdministrator
WORKDIR /app
COPY --from=publish /app/publish .

ENTRYPOINT ["dotnet", "GrpcService.dll"]
Let’s break down whole “Dockerfile” line by line.
- Establishing base line for the image on top of which next steps will be executed. We are using public image of the .NET Core 3.1 SDK.
1
FROM mcr.microsoft.com/dotnet/core/sdk:3.1 AS build
- Creating working directory and copying all projects to it (it’s like build agent’s checkout directory).
1
2
WORKDIR /src
COPY ["src/GrpcService/GrpcService.csproj", "src/GrpcService/"]
- Execute
restorecommand to fetch all the dependencies and packages.
1
RUN dotnet restore "src/GrpcService/GrpcService.csproj"
- Build main gRPC service project to get binaries out
1
RUN dotnet build "GrpcService.csproj" --no-restore -c Release -o /app/build
- Then we are defining new baseline for the image (sort of “creating new stage” for it), assign name “publish” to it and run publish command to get packed output for gRPC service.
1
2
FROM build AS publish
RUN dotnet publish "GrpcService.csproj" -c Release -o /app/publish
- Defining last “layer” for the image where actual content of the gRPC service will be located. Here we take “nano-server” public image with ASP.NET Core 3.1 installed. You can think of it as “small windows with all dependencies installed to run ASP.NET Core 3.1 applications”.
1
FROM mcr.microsoft.com/dotnet/core/aspnet:3.1-nanoserver-1809 AS final
- Create target directory and copy all required output content from publishing “layer”. Don’t worry about “
ContainerAdministrator” for now..
1
2
3
USER ContainerAdministrator
WORKDIR /app
COPY --from=publish /app/publish .
- Define our
public static void Main(string[] args)method asENTRYPOINT. This is basically command that will be executed every time you start an image.
1
ENTRYPOINT ["dotnet", "GrpcService.dll"]
You will need to have Docker Desktop application in order to run it locally but I guess Visual Studio Tools for Docker already checked this on your system so you should be good to go.
Building an Image
Once we have definition file for the Docker - it’s only a definition (like source code). We need to compile (actually “build”) it. This is done with docker ... command. Locate yourself at the directory where “Dockerfile” was generated and run:
1
PS C:\grpc-demo> docker build . -t "grpc-server-demo"
Building process might take a while (but it’s worth it). Parameter -t is for tagging an image. Essentially you are assigning name to the image which you will be able to refer to later when needed.
You might see something similar in output:
1
2
3
4
5
6
7
8
9
10
11
12
13
14
15
16
17
18
19
20
...
Step 24/29 : FROM mcr.microsoft.com/dotnet/core/aspnet:3.1-nanoserver-1809 AS final
 ---> ea8c92c37b3f
Step 25/29 : USER ContainerAdministrator
 ---> Using cache
 ---> 9aef174f73a3
Step 26/29 : WORKDIR /app
 ---> Using cache
 ---> 037503659bf2
Step 27/29 : COPY --from=publish /app/publish .
 ---> e7a837c53662
Step 28/29 : COPY GrpcService.pfx .
 ---> 0b745a9a18b9
Step 29/29 : ENTRYPOINT ["dotnet", "GrpcService.dll"]
 ---> Running in af7bf6234ba6
Removing intermediate container af7bf6234ba6
 ---> 70fba1826ae6
Successfully built 70fba1826ae6
Successfully tagged grpc-server-demo:latest
PS C:\grpc-demo>
NuGet Restore Failure
Sometimes you might see that dotnet restore is not working properly while build process executes.
1
2
3
4
5
6
Step 7/23 : RUN dotnet restore
—> Running in ce2d8740cf2e
Restore completed in 389.74 ms for C:\src\GrpcService\GrpcService.csproj.
C:\Program Files\dotnet\sdk\3.1.300\NuGet.targets(123,5): error : Unable to load the service index for source https://api.nuget.org/v3/index.json. [C:\src\GrpcService\GrpcService.csproj]
C:\Program Files\dotnet\sdk\3.1.300\NuGet.targets(123,5): error : No such host is known [C:\src\GrpcService\GrpcService.csproj]
The command ‘powershell -Command $ErrorActionPreference = ‘Stop’; $ProgressPreference = ‘SilentlyContinue’; dotnet restore’ returned a non-zero code: 1
This means that Docker image can’t do any DNS resolutions - resulting in build process abort and exit.
One of the ways how to fix this issue is to mess around with network interface metrics.
First you need to get list of network metrics
1
❯ Get-NetIPInterface -AddressFamily IPv4 | Sort-Object -Property InterfaceMetric -Descending
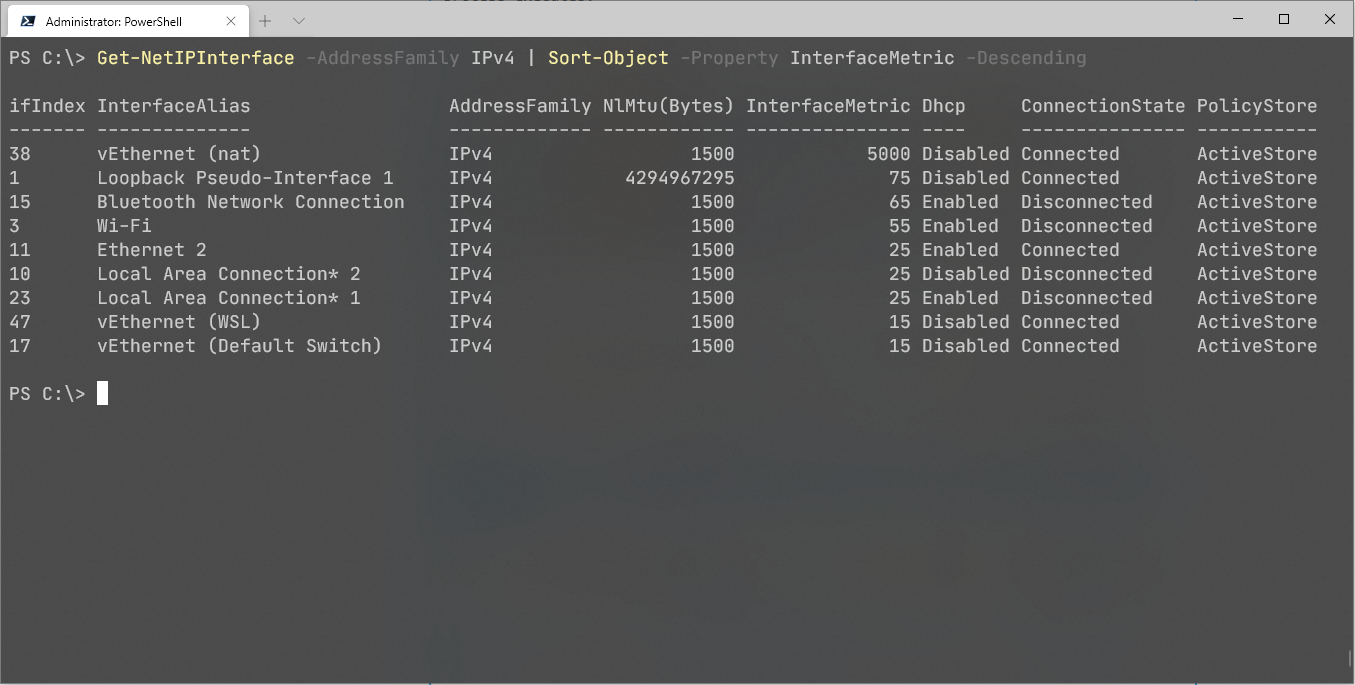
Docker is using interface from the host to do its network magic. So metrics for the interfaces are used to understand priority of the network interface to use. Lower the metric means higher interface priority. So once you identified which interface is causing your Docker image build problems, you can change metrics for that one.
1
❯ Set-NetIPInterface -InterfaceAlias 'Local Area Connection* 1' -InterfaceMetric 59
Setting Up Kestrel for Secure Connection
In order to run successfully gRPC service on top of the Kestrel, you will need to setup SSL certificate for that (gRPC requires secure connection to be present).
One of the options is to issue self-signed certificate.
1
2
> openssl req -x509 -newkey rsa:4096 -keyout key.pem -out cert.pem -days 365
> openssl pkcs12 -export -out grpc.pfx -inkey key.pem -in cert.pem
When you are creating certificate - you will be prompted to enter password and other stuff. Write those down somewhere as you will need them later in the process.
Adding certificate to the Docker image is done via environment variables (ASP.NET Core looks for some well-known keys there and if found - uses those). Setting environment variables in Docker is accomplished with a help of env command (we set variables after establishing final layer where we copy over published output of the app).
1
2
3
4
5
FROM mcr.microsoft.com/dotnet/core/aspnet:3.1-nanoserver-1809 AS final

ENV ASPNETCORE_URLS="https://+"
ENV ASPNETCORE_Kestrel__Certificates__Default__Path="./grpc.pfx"
...
Also we need to copy certificate physically into the image. This is done again with simple COPY.
1
2
3
4
...

COPY --from=publish /app/publish .
COPY grpc.pfx .
Running an Image as Container Locally
Once you get your image successfully built, it’s time to run it. This is achievable with docker run
1
2
3
4
5
6
7
8
9
10
PS C:\grpc-demo> docker run --rm -it -p 5051:443 -e ASPNETCORE_HTTPS_PORT=5051 -e ASPNETCORE_Kestrel__Certificates__Default__Password="{-your-password-}"
info: Microsoft.Hosting.Lifetime[0]
      Now listening on: https://[::]:5051
info: Microsoft.Hosting.Lifetime[0]
      Application started. Press Ctrl+C to shut down.
info: Microsoft.Hosting.Lifetime[0]
      Hosting environment: Production
info: Microsoft.Hosting.Lifetime[0]
      Content root path: C:\app
...
Your chosen password for the certificate needs to be passed in as parameter when starting docker image. You can also of course bake it into the image itself but I would not recommend it.
Also we are forwarding Kestrel’s 5051 port from the container to be exposed as 443 on the host machine.
This is ordinary console output that you would see when starting .NET Core application. You can freely Ctrl+C there as this will not kill the app (will just exit console log stream for that app).
You can list all running containers with docker ps
1
2
3
PS C:\grpc-demo> docker ps
CONTAINER ID   IMAGE              COMMAND                  CREATED          STATUS          PORTS     NAMES
82c209c7ced3   grpc-server-demo   "dotnet GrpcService.…"   12 seconds ago   Up 10 seconds             focused_tereshkova
Running Container in Azure
When we have verified that image is runnable locally, we can start preparation work to move this to the cloud and run it in Azure. Azure provides couple services for this type of workload - Kubernetes Services (AKS) & Container Instances (ACI).
I chose the latter - but you have to justify costs and analyze potential invoice amount before proceeding.
Registering Image in Azure Container Registry (ACR)
Path to the cloud starts with registering image in Azure Container Registry. It’s like NuGet.org for .NET packages or “npm.org” for frontend stuff. Container host will be using this registry to pull images and run them.
In order to continue we have to create Azure Container Registry. Just search for one in the portal and follow wizard steps there.
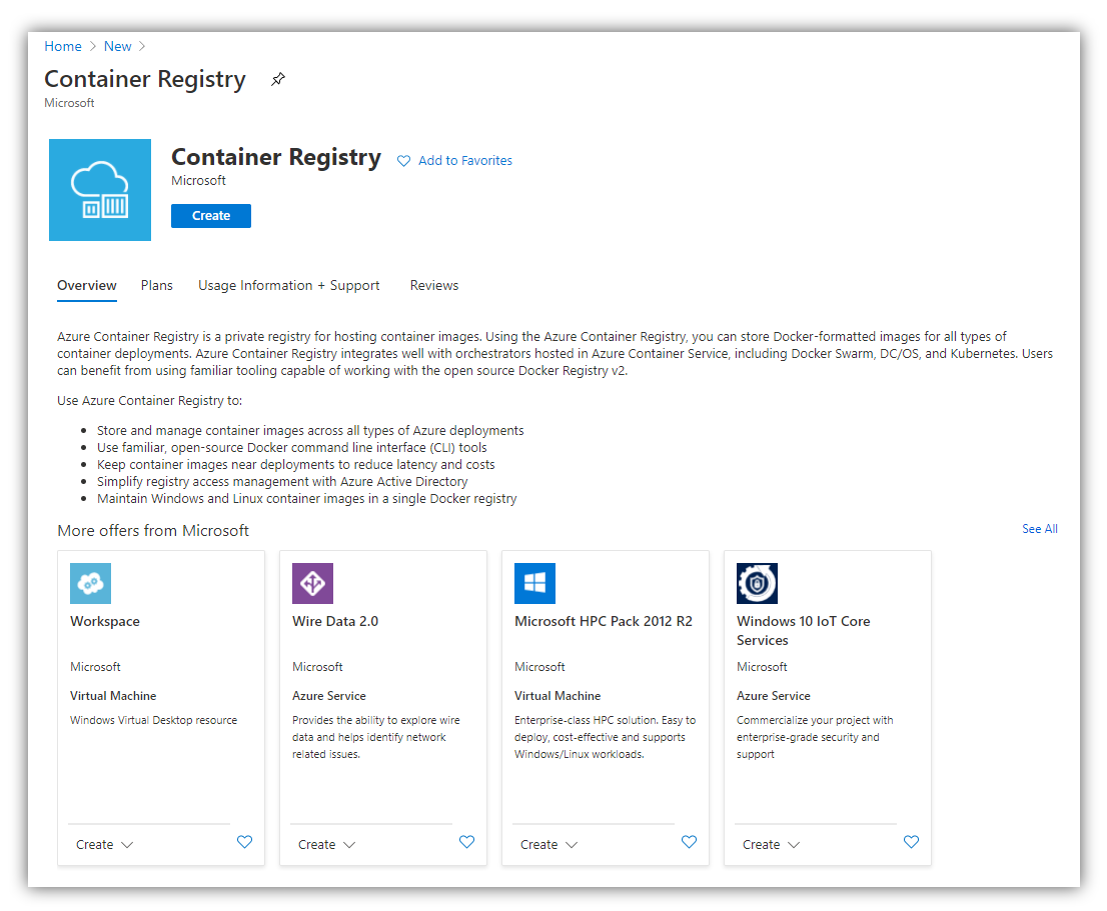
Name of the registry should be chosen wisely as this is global registry and names might collide.
Then we need to login into Azure from CLI (login process will open browser and will ask you to login into Azure).
1
> az login
After successfully establishing link in CLI with Azure, we can login now in our newly created Azure Container Registry.
1
> az acr login --name myownshinyacr
As third step - we have to tag somehow just recently created docker image (keep in mind also url of the image with version number at the end - we gonna need this later on).
1
> docker tag grpc-service-demo myownshinyacr.azurecr.io/grpc-service:v1
When we have assigned tag to the image - we have to push it out to the registry.
1
> docker push myownshinyacr.azurecr.io/grpc-service:v1
1
2
3
4
5
6
7
8
9
10
11
12
13
14
PS C:\grpc-demo> docker push myownshinyacr.azurecr.io/grpc-service:v1
The push refers to repository [myownshinyacr.azurecr.io/grpc-service]
6a14c3071eb7: Pushed
171573b3ea7e: Pushed
1c7bd158a73c: Pushed
a4d54e85335d: Pushed
904eeede01a3: Pushed
3feb255a247e: Pushed
e66bc7aeeb29: Pushing [=============================================>     ]  62.67MB/69.2MB
2019d72f0a51: Pushed
06e112d86344: Pushed
94035e61bd19: Pushed
a6ef2c7fdcd2: Pushed
8d36ad9cbc77: Skipped foreign layer
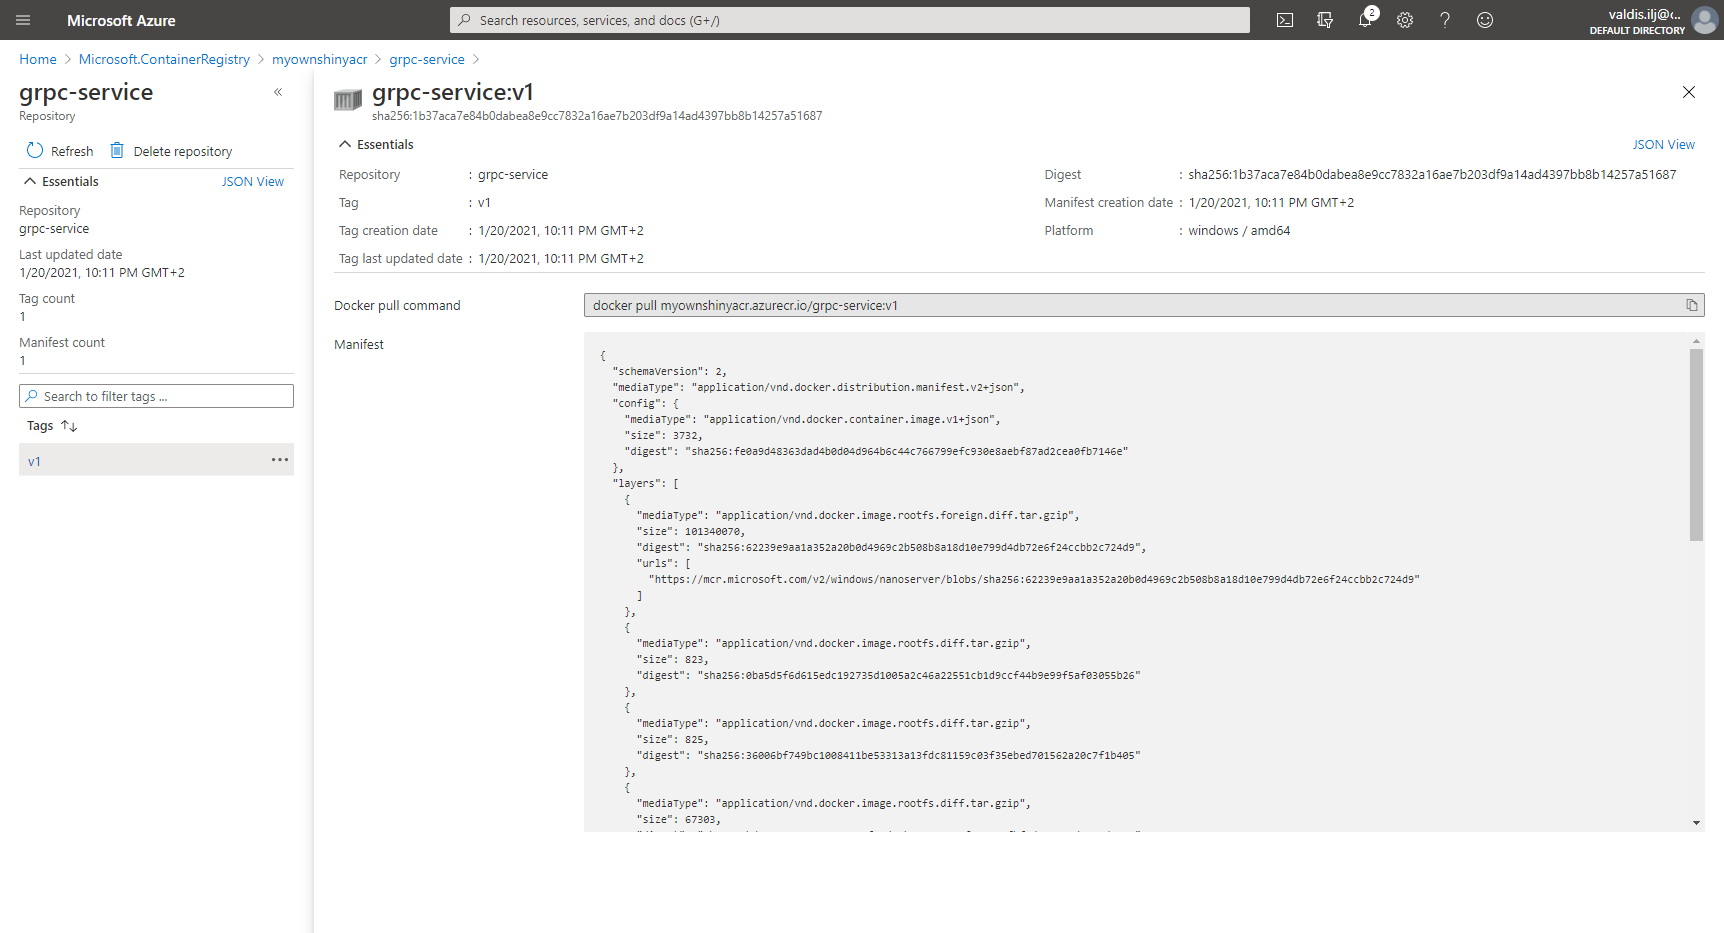
You can inspect container image in registry later just to verify that it’s uploaded correctly.
Creating Azure Container Instance (ACI)
Now we are ready to run uploaded image in ACI. For this to happen we will need to use az container command.
Create ACI Using Portal
One of the way to create ACI is by using portal wizard. Again just search for “aci” keyword.
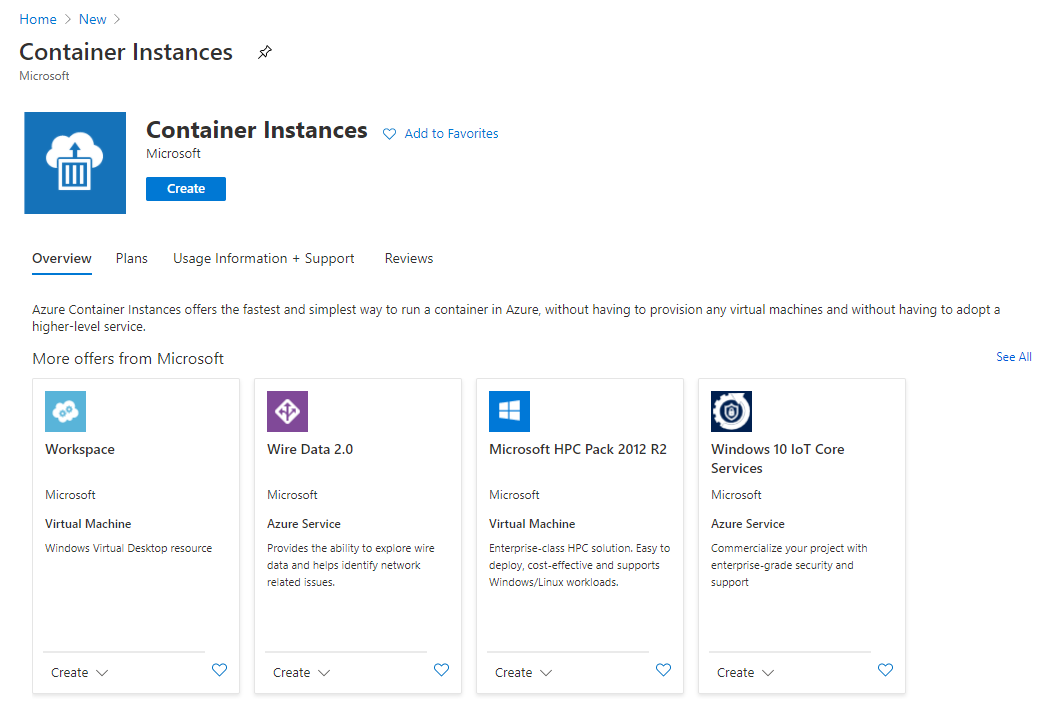
And follow instructions and answer asked questions and you are ready to go.
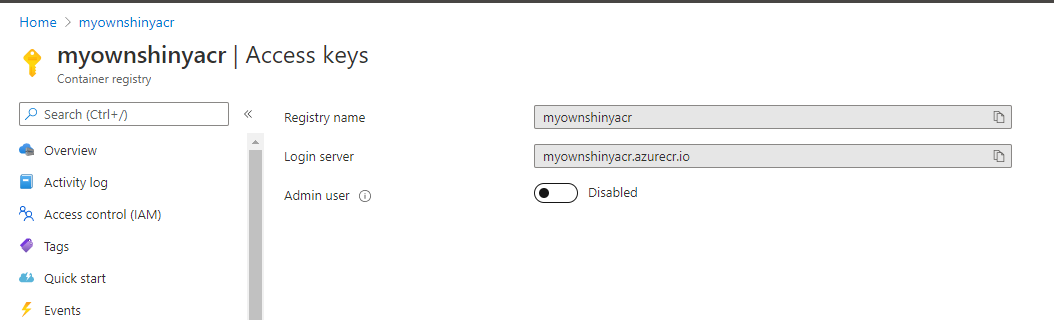
In order to pull down image from the registry, admin user must be enabled there. Head over to the registry and open up “Access Keys” blade and enable “Admin user” option.
Create ACI Using Command Line Interface
Another option is to use CLI for this.
1
2
3
4
5
6
7
8
9
10
> az container create \
    --resource-group grpc-demo-rg \
    --name grpc-container \
    --image myownshinyacr.azurecr.io/grpc-service:v1 \
    --registry-login-server myownshinyacr.azurecr.io \
    --registry-username myownshinyacr \
    --registry-password {-your-acr-admin-user-password-} \
    --os-type Windows \
    --ip-address Public \
    --dns-name-label testing-grpc
But again this looks terribly verbose and I would be dead after trying to type it again tomorrow when we would release newer version of the service.
Better Way to Create ACI
Third option is to just define description file for the ACI using yaml format ;) Here we can describe all the details we need to specify for our container instance. We do it once and then reuse this definition every time we need to deploy newer version of the gRPC service.
Your yaml definition file:
1
2
3
4
5
6
7
8
9
10
11
12
13
14
15
16
17
18
19
20
21
22
23
24
25
26
27
28
29
30
31
32
33
34
35
36
37
38
39
40
api-version: 2018-10-01
location: westeurope
name: grpc-container
properties:
  containers:
  - name: test-grpc-app
    properties:
      image: myownshinyacr.azurecr.io/grpc-service:v1
      ports:
      - port: 443
        protocol: TCP
      resources:
        requests:
          cpu: 4.0
          memoryInGB: 4.0
      environmentVariables:
      - name: ASPNETCORE_URLS
        value: https://+
      - name: ASPNETCORE_HTTPS_PORT
        value: 443
      - name: ASPNETCORE_Kestrel__Certificates__Default__Password
        value: {-your-certificate-password-}
      - name: ASPNETCORE_Kestrel__Certificates__Default__Path
        value: grpc.pfx
      - name: ASPNETCORE_ENVIRONMENT
        value: Production
  restartPolicy: OnFailure
  imageRegistryCredentials:
  - server: myownshinyacr.azurecr.io
    username: myownshinyacr
    password: {-your-acr-admin-user-password-}
  ipAddress:
    ports:
    - port: 443
      protocol: TCP
    type: Public
    dnsNameLabel: testing-grpc
  osType: Windows
tags: null
type: Microsoft.ContainerInstance/containerGroups
By having this file at hand - we simply execute az container command by pointing to container service definition file.
1
> az container create --resource-group Kolumbus-Test --file deploy-grpc.yaml
Downside of ACI
Actually there are couple. Price is the first one. Compared to AKS -> ACI turns out to be beefy (assume this is because of Windows license costs on all hardware that is involved to run your cluster).
Second is around metrics. After running image for a while, I was looking for some metrics (memory, cpu, etc). And turned out that if you are running Windows image on ACI - metrics are juts simply not supported - those are not exposed to collector agents and therefore are not forwarded to Azure monitoring infrastructure to be shown in the portal.
So you end up with following picture:
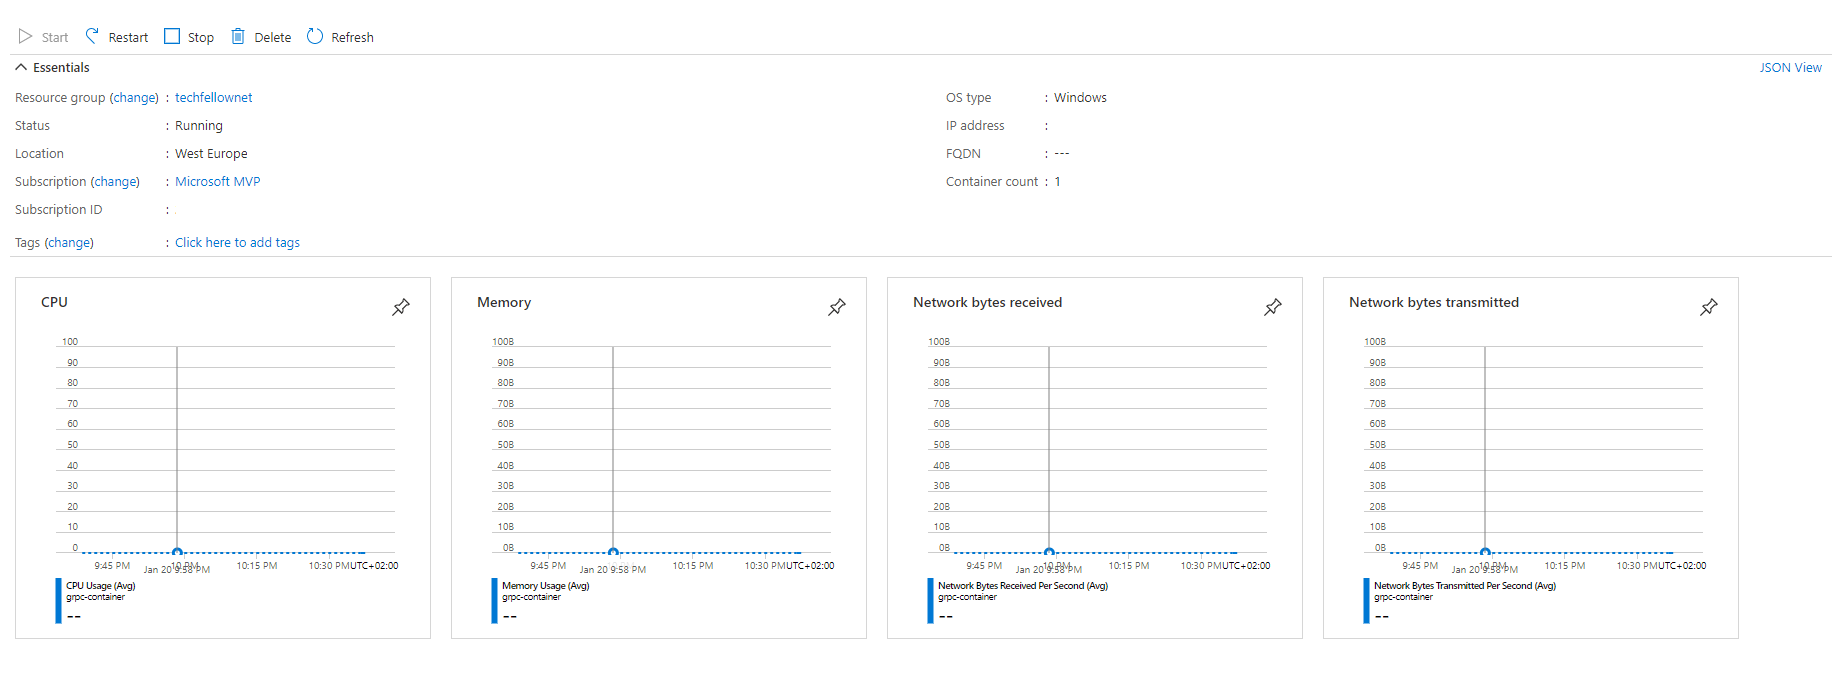
Which is not super helpful after all. Therefore seems like we gonna have another post - how to do this whole hosting ceremony running on Linux and maybe event switch to AKS.
Extras
Embedding Protobuf Files within Image
Also worth mentioning that it has been super helpful for the consumers of the gRPC service to be able to get .proto files for the services. It’s like browsing .disco / wsdl files back in WCF era.
If would be awesome if any consumer who needs to generate client proxy classes for the service - could just point to the proto file and continue. Also we as service authors would not need to think about where to locate .proto files, how to keep it in sync with deployed code and how to maintain version of it.
Luckily Anthony has made this possible - by providing a nice way to embed protobuf file along with your service. More details in his blog post.
Thanks Brian for proof-reading!
Hope this helps! Happy packing!
[eof]
Comments powered by Disqus.