Aspiring Optimizely
Adding .NET Aspire application host to your Optimizely project (even if it’s just for local development) is really a time-saver when it comes to setting up your local development environment, spinning up resources you need and tracing it during runtime.
You might ask - why do I need to add Aspire if I can just F5? True, but what is your SQL server strategy? How do you restore databases? How long it takes to setup environment on new machine?
Using Aspire hosting model - you save time for this all. Let’s dive into how to get started to add Aspire to you Optimizely project.
Adding Aspire
Adding Aspire is as easy as create new project. I’ll use Visual Studio for this exercise.
- first you need to open your Optimizely solution (I’ll use simple Alloy here targeted to
net8.0) - then you need to add new .NET Aspire Empty App
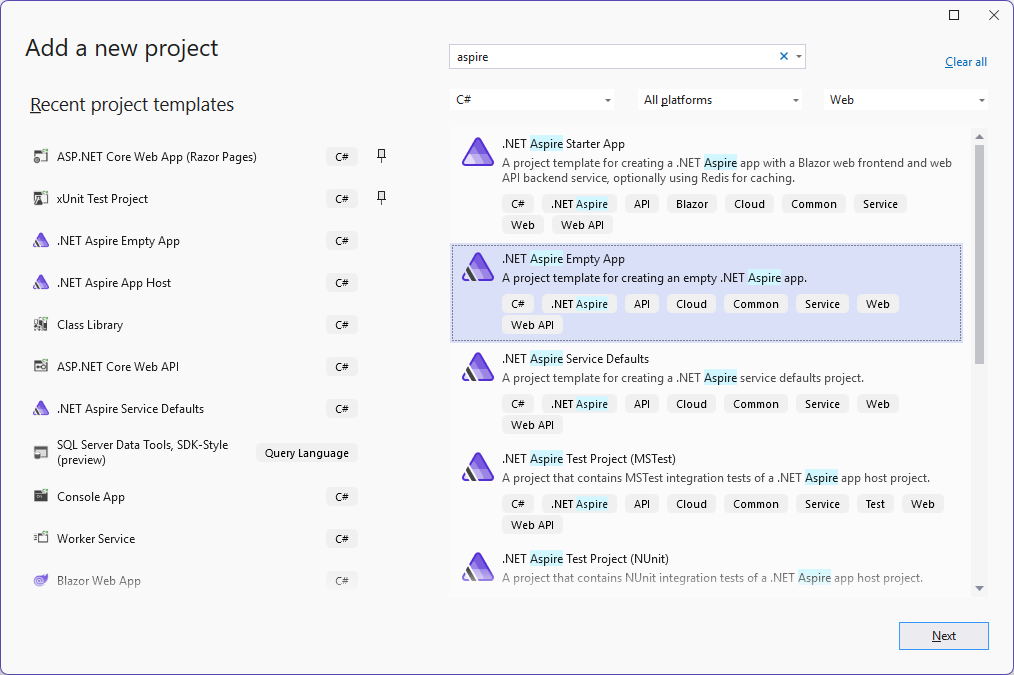
- Visual Studio will ask few questions
- then
*.AppHostand*.ServiceDefaultsprojects should be added to your solution
*.AppHost is the actual startup project - host and orchestrator of the solution and *.ServiceDefaults is utility project which we gonna need to modify a bit to fit Optimizely setup.
Adding SQL Server
Now when we have application host, we can start adding dependency projects and/or services to our distributed application (Aspire calls it distributed - as it makes sense in the context when you are running multiple services for your solution at the same time).
- first we need to add SQL Server NuGet package reference to Aspire host project
1
<PackageReference Include="Aspire.Hosting.SqlServer" Version="9.0.0" />
This NuGet package ensures that we are able now to add SQL Server to our host.
- now in
Program.csfile we can add SQL Server as dependency for our host
1
2
3
4
5
6
7
8
9
10
11
var builder = DistributedApplication.CreateBuilder(args);

var sql = builder
    .AddSqlServer("alloy-sql")
    // Configure the container to store data in a volume so that it persists across instances.
    .WithDataVolume()
    .WithLifetime(ContainerLifetime.Persistent);

var db = sql.AddDatabase("EPiServerDB", databaseName: "alloy-db-cms");

await builder.Build().RunAsync();
To save even more time as you can see - I set server to .WithLifetime(ContainerLifetime.Persistent). This is instructing Aspire not to kill Docker container and delete image, but preserve SQL Server instance across app launches.
Theoretically we are able to run our Aspire solution and see that SQL Server is started automatically and mapped to the solution.
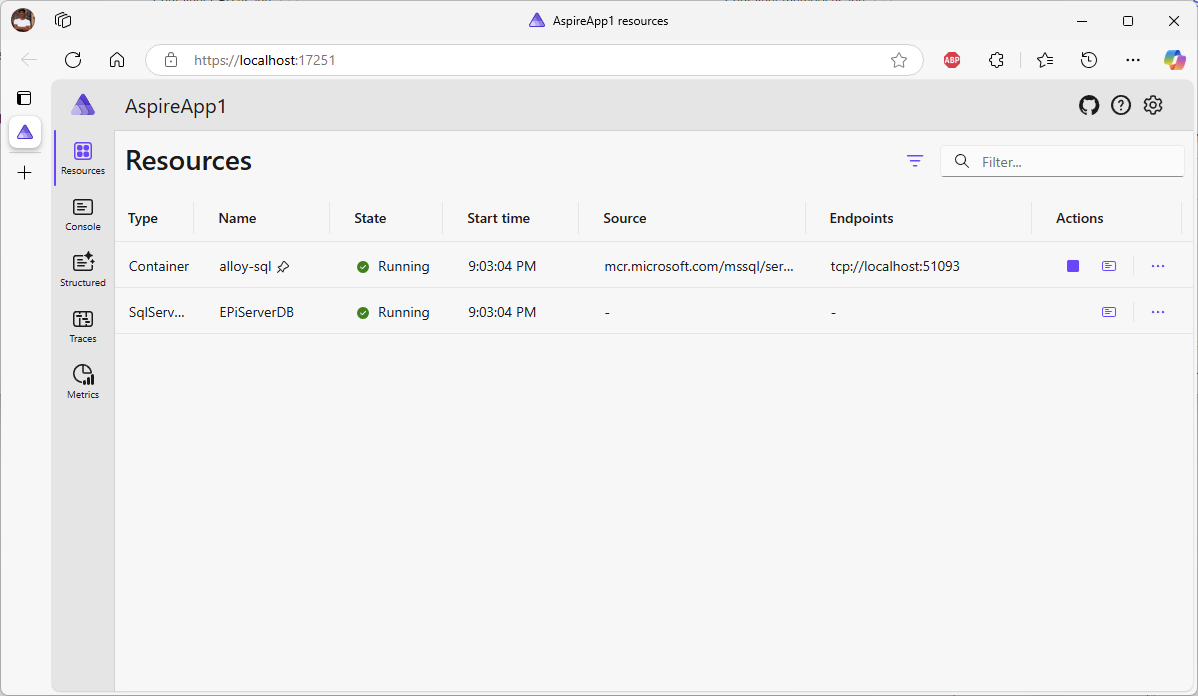
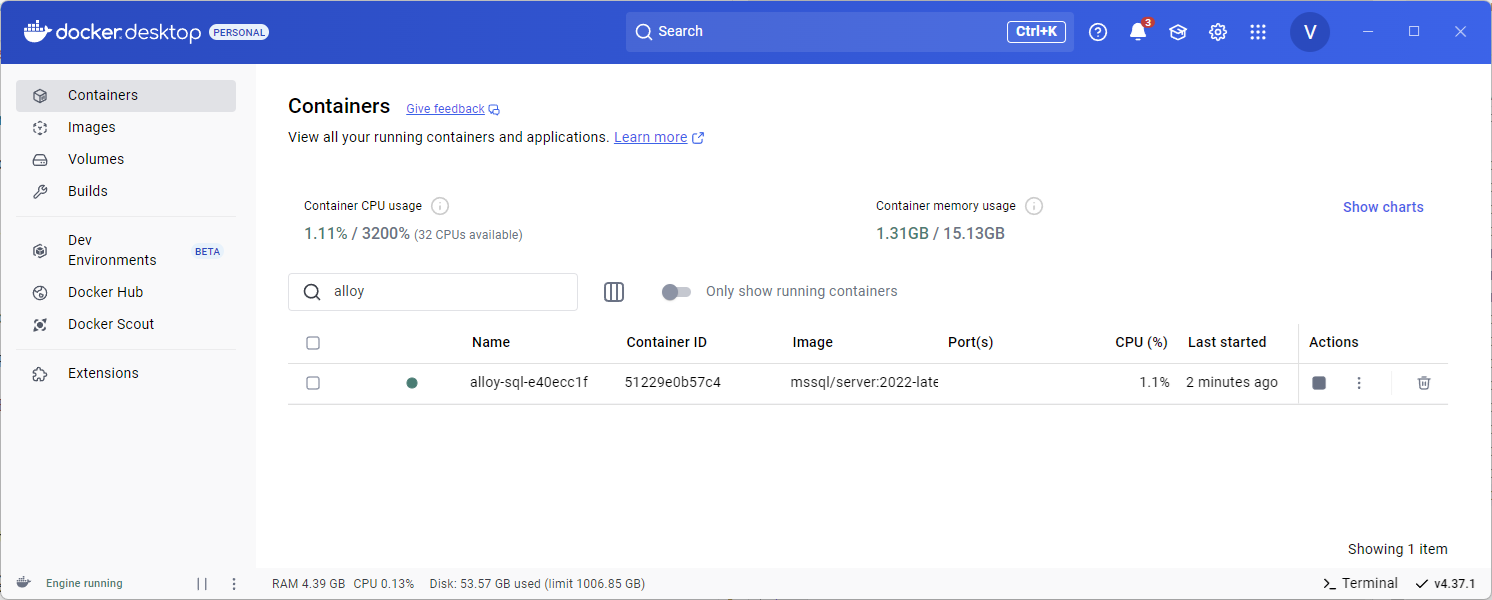
We can also check local Docker container list.
However, connecting to SQL Server and checking databases, we can see that server is empty.
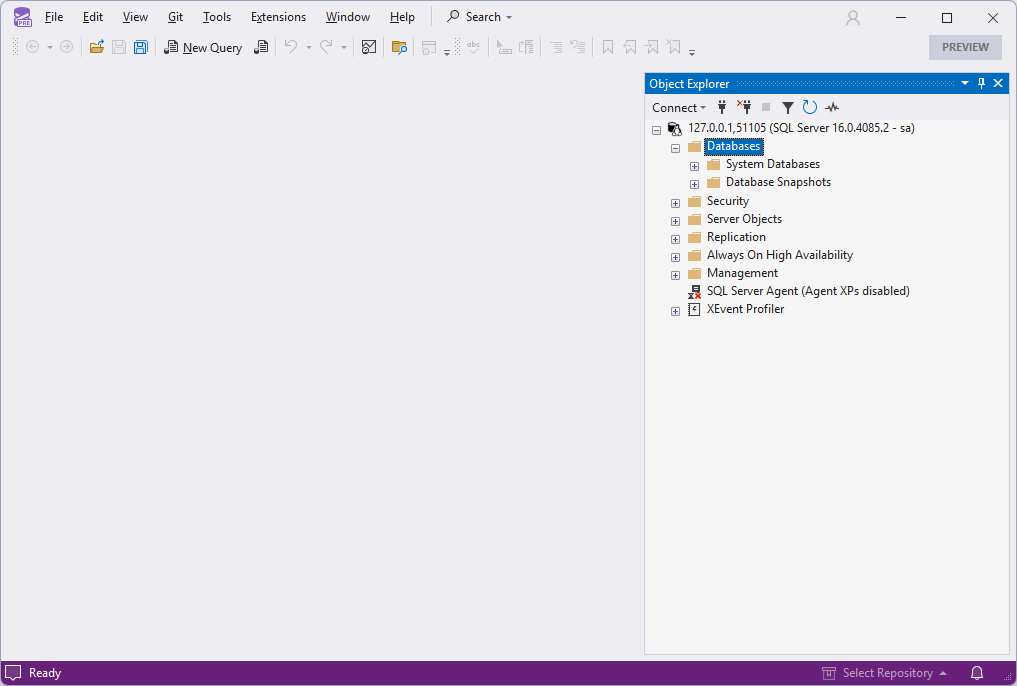
Unfortunately SQL Server spin-up does not handle database creation automatically, so we gonna help Aspire here a bit.
Create Optimizely CMS Database Automatically
In order to create database automatically, we need couple scripts for our Docker image.
- create new directory in
*.AppHostproject called/sqlserverconfigin project’s root directory - mount that directory to the image with
1
2
3
4
5
// SQL doesn't support any auto-creation of databases or running scripts on startup so we have to do it manually.
var sql = builder
    .AddSqlServer("alloy-sql")
    // Mount the init scripts directory into the container.
    .WithBindMount(@".\sqlserverconfig", "/usr/config")
- create
entrypoint.shfile in/sqlserverconfigdirectory which will execute database creation script
1
2
3
4
5
6
7
#!/bin/bash

# Start the script to create the DB and user
/usr/config/configure-db.sh &

# Start SQL Server
/opt/mssql/bin/sqlservr
- create
configure-db.shfile in the same/sqlserverconfigdirectory
1
2
3
4
5
6
7
8
9
10
11
12
13
14
15
16
17
18
19
20
21
22
23
24
25
26
27
28
29
30
31
32
33
34
35
36
37
#!/bin/bash

# set -x

# Wait 120 seconds for SQL Server to start up by ensuring that
# calling SQLCMD does not return an error code, which will ensure that sqlcmd is accessible
# and that system and user databases return "0" which means all databases are in an "online" state

dbstatus=1
errcode=1
start_time=$SECONDS
end_by=$((start_time + 120))

echo "Starting check for SQL Server start-up at $start_time, will end at $end_by"

while [[ $SECONDS -lt $end_by && ( $errcode -ne 0 || ( -z "$dbstatus" || $dbstatus -ne 0 ) ) ]]; do
    dbstatus="$(/opt/mssql-tools/bin/sqlcmd -h -1 -t 1 -U sa -P "$MSSQL_SA_PASSWORD" -C -Q "SET NOCOUNT ON; Select SUM(state) from sys.databases")"
    errcode=$?
    sleep 1
done

elapsed_time=$((SECONDS - start_time))
echo "Stopped checking for SQL Server start-up after $elapsed_time seconds (dbstatus=$dbstatus,errcode=$errcode,seconds=$SECONDS)"

if [[ $dbstatus -ne 0 ]] || [[ $errcode -ne 0 ]]; then
    echo "SQL Server took more than 120 seconds to start up or one or more databases are not in an ONLINE state"
    echo "dbstatus = $dbstatus"
    echo "errcode = $errcode"
    exit 1
fi

# Loop through the .sql files in the /docker-entrypoint-initdb.d and execute them with sqlcmd
for f in /docker-entrypoint-initdb.d/*.sql
do
    echo "Processing $f file..."
    /opt/mssql-tools/bin/sqlcmd -S localhost -U sa -P "$MSSQL_SA_PASSWORD" -C -d master -i "$f"
done
This script basically ensures that SQL Server is up & running and will execute all script files in /docker-entrypoint-initdb.d/ directory in the image (which we gonna bind just in a moment)
- add this script to the Docker image
1
2
3
4
5
6
var sql = builder
    .AddSqlServer("alloy-sql")
    // Mount the init scripts directory into the container.
    .WithBindMount(@".\sqlserverconfig", "/usr/config")
    // Run the custom entrypoint script on startup.
    .WithEntrypoint("/usr/config/entrypoint.sh")
- create new directory
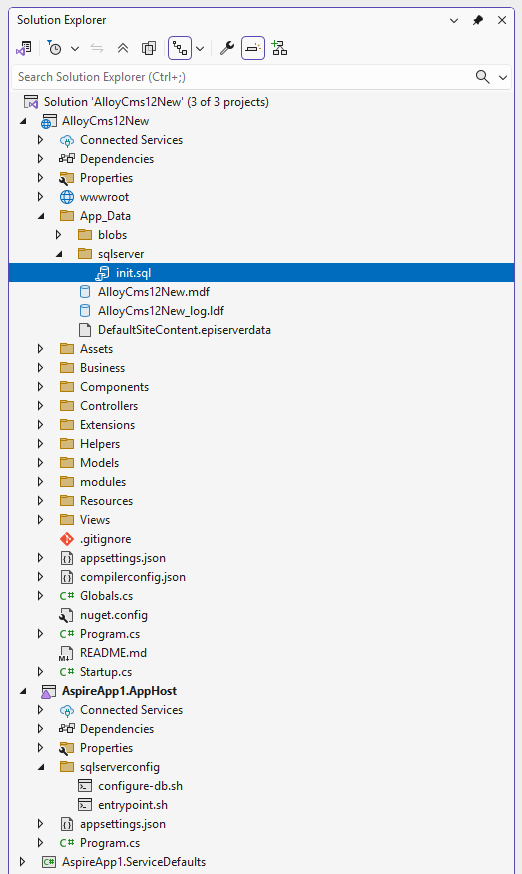
/App_Data/sqlserverin in your Alloy CMS project - create new file
init.sqlin that/App_Data/sqlserverdirectory
1
2
3
4
5
6
7
8
-- SQL Server init script

-- Create the AddressBook database
IF NOT EXISTS (SELECT * FROM sys.databases WHERE name = N'alloy-db-cms')
BEGIN
  CREATE DATABASE [alloy-db-cms];
END;
GO
- and finally we need to add directory to Docker image
1
2
3
4
5
6
7
8
var sql = builder
    .AddSqlServer("alloy-sql")
    // Mount the init scripts directory into the container.
    .WithBindMount(@".\sqlserverconfig", "/usr/config")
    // Mount the SQL scripts directory into the container so that the init scripts run.
    .WithBindMount(@"..\..\AlloyCms12New\App_Data\sqlserver", "/docker-entrypoint-initdb.d")
    // Run the custom entrypoint script on startup.
    .WithEntrypoint("/usr/config/entrypoint.sh")
Overall file structure is following:
Full SQL Server setup code:
1
2
3
4
5
6
7
8
9
10
11
12
// SQL doesn't support any auto-creation of databases or running scripts on startup so we have to do it manually.
var sql = builder
    .AddSqlServer("alloy-sql")
    // Mount the init scripts directory into the container.
    .WithBindMount(@".\sqlserverconfig", "/usr/config")
    // Mount the SQL scripts directory into the container so that the init scripts run.
    .WithBindMount(@"..\..\AlloyCms12New\App_Data\sqlserver", "/docker-entrypoint-initdb.d")
    // Run the custom entrypoint script on startup.
    .WithEntrypoint("/usr/config/entrypoint.sh")
    // Configure the container to store data in a volume so that it persists across instances.
    .WithDataVolume()
    .WithLifetime(ContainerLifetime.Persistent);
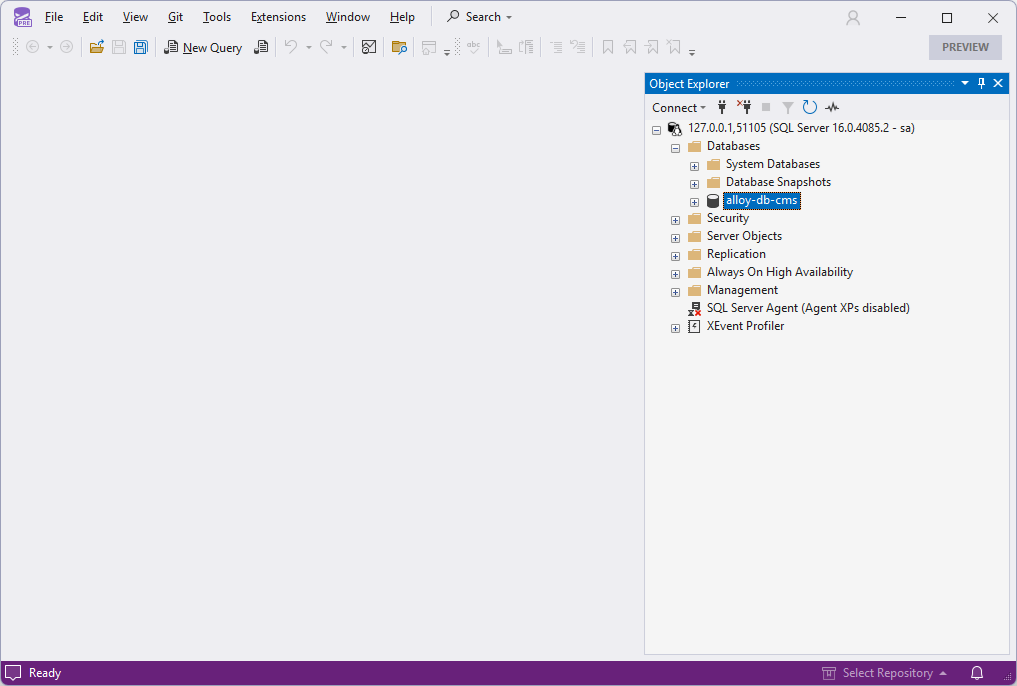
Now when we run the *.AppHost again - database named alloy-cms-db is automatically created.
Adding Alloy CMS Project
Now we are ready to add Alloy CMS project to our Aspire host. This is much easier than it sounds.
1
2
3
4
5
var db = sql.AddDatabase("EPiServerDB", databaseName: "alloy-db-cms");
builder
    .AddProject("alloy-cms", @"..\..\AlloyCms12New\AlloyCms12New.csproj")
    .WithReference(db)
    .WaitFor(db);
Let’s build everything and run the host.
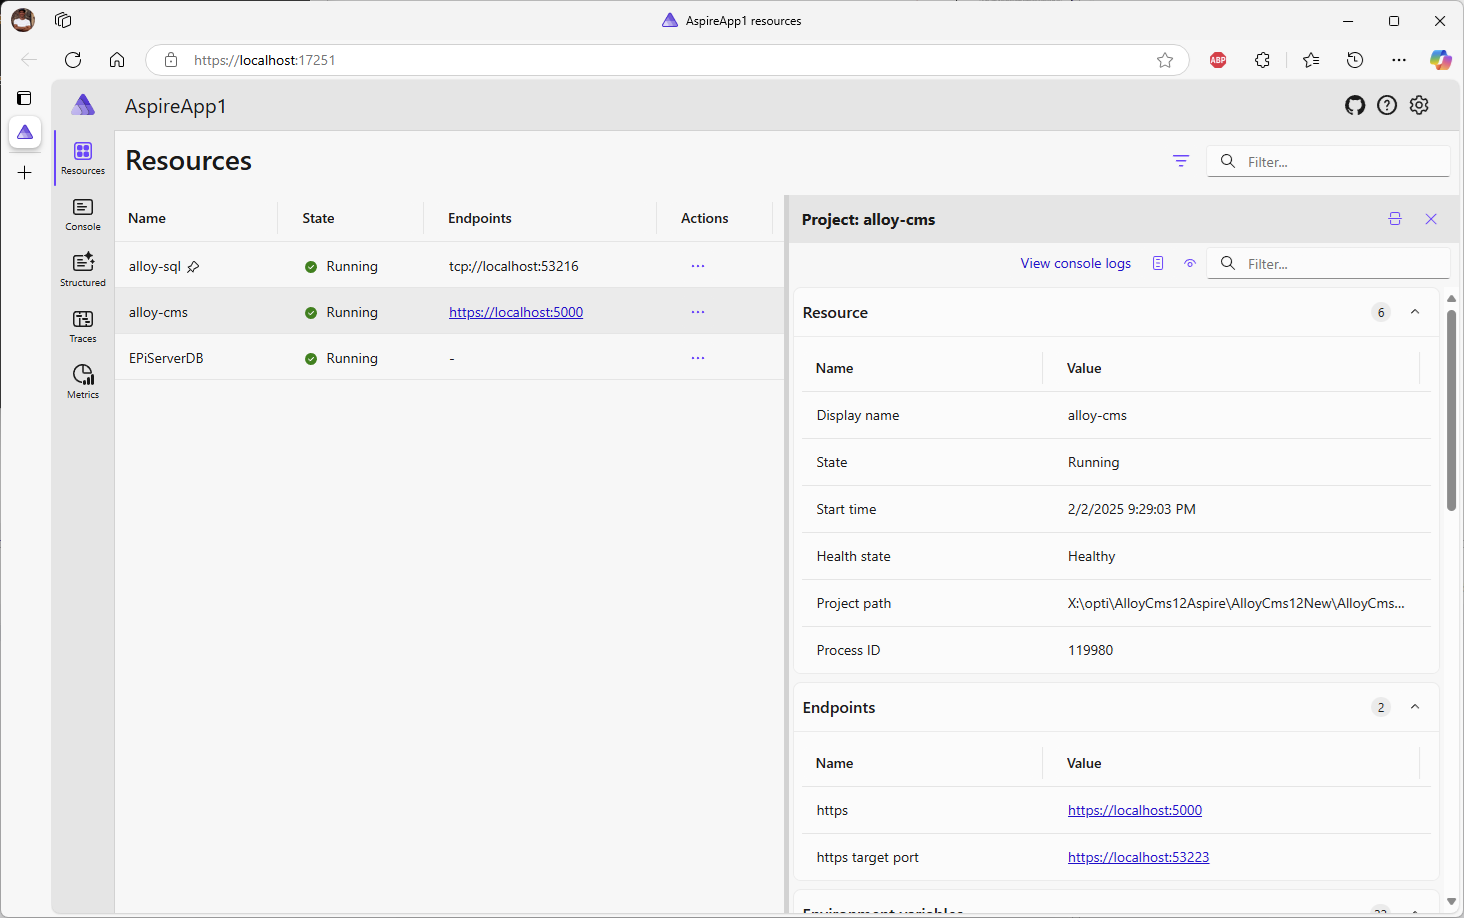
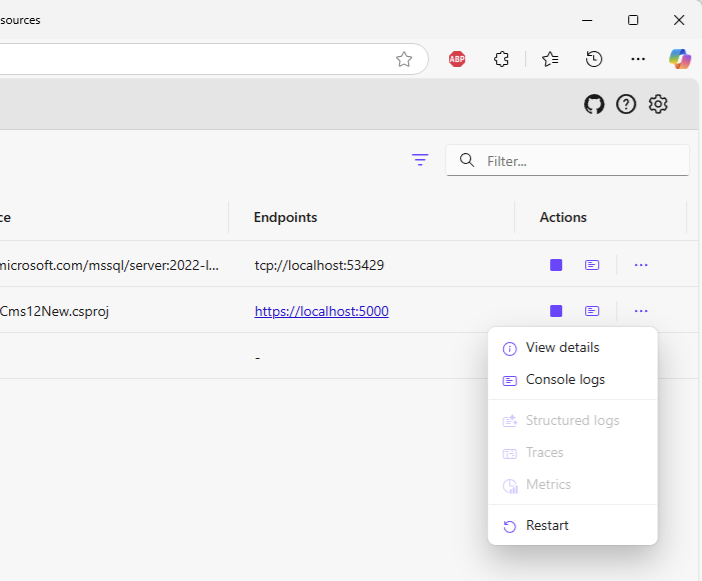
As you can see - Alloy is up & running and part of our distributed solution.
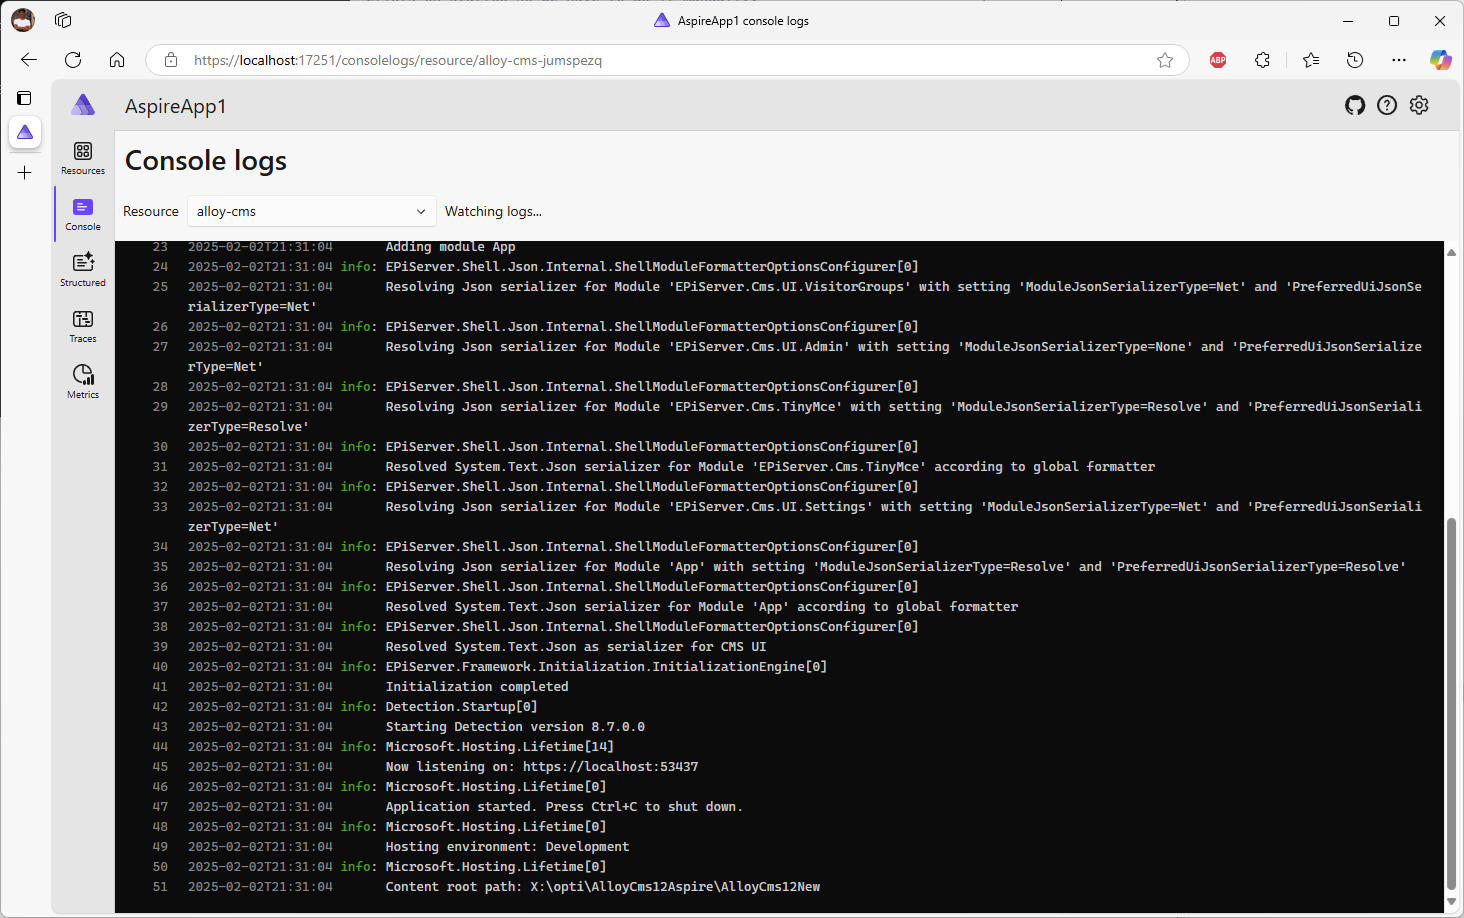
We are also able to see console logs as part of Aspire Dashboard.
However, structured logs, traces and metrics are not found for this app.
Now we need to do some tricks in ServiceDefaults project which was added by Aspire project template.
Adding Logging and Tracing (via Service Defaults)
If you check *.ServiceDefaults project you will see that all the extension methods to add logging and other magic to the project is for IHostApplicationBuilder which basically is Microsoft.AspNetCore.Builder.WebApplicationBuilder.
1
2
public static TBuilder AddServiceDefaults<TBuilder>(this TBuilder builder)
    where TBuilder : IHostApplicationBuilder
You can have access to this object when you are building web application using
1
2
var builder = WebApplication.CreateBuilder(args);
...
However, by default Optimizely is using older model - Microsoft.Extensions.Hosting.IHostBuilder.
1
2
3
4
5
6
7
8
9
public class Program
{
    public static void Main(string[] args) => CreateHostBuilder(args).Build().Run();

    public static IHostBuilder CreateHostBuilder(string[] args) =>
        Host.CreateDefaultBuilder(args)
            .ConfigureCmsDefaults()
            .ConfigureWebHostDefaults(webBuilder => webBuilder.UseStartup<Startup>());
}
Using new hosting model is still work-in-progress and not yet fully supported by Optimizely.
Actually all it does is accessing builder.Services and configuring logging for the host. We would need to do a bit of black magic for ServiceDefaults to get the same stuff into older hosting model.
- create a copy of
Extensions.csfile (I chose the most creative name I could figure out -Extensions2.cs). - modify
AddServiceDefaultsmethod to extendIServiceCollection servicesinstead ofTBuilder builder(we also gonna needIConfigurationandapplicationNameas well)
1
2
3
4
public static IServiceCollection AddServiceDefaults(this IServiceCollection services, IConfiguration configuration, string applicationName)
{
    ...
}
- fix compilation errors - instead of
builder.Service.useservices. - do the same changes for the rest of the methods
- use
applicationNameparameter inConfigureOpenTelemetrymethod to configure tracing - add
*.ServiceDefaultsproject reference to AlloyCms project
1
2
3
  <ItemGroup>
    <ProjectReference Include="..\AspireApp1\AspireApp1.ServiceDefaults\AspireApp1.ServiceDefaults.csproj" />
  </ItemGroup>
- inject
IConfigurationinStartup.cs
1
public class Startup(IWebHostEnvironment webHostingEnvironment, IConfiguration configuration)
- use service defaults to configure tracing and metrics for AlloyCms project
1
2
3
4
5
6
    public void ConfigureServices(IServiceCollection services)
    {
        ...

        services.AddServiceDefaults(configuration, webHostingEnvironment.ApplicationName);
    }
- and lastly configure logging for AlloyCms project (in
Program.csfile)
1
2
3
4
5
6
7
8
9
10
11
12
public static IHostBuilder CreateHostBuilder(string[] args) =>
    Host.CreateDefaultBuilder(args)
        .ConfigureCmsDefaults()
        .ConfigureLogging(builder =>
        {
            builder.AddOpenTelemetry(logging =>
            {
                logging.IncludeFormattedMessage = true;
                logging.IncludeScopes = true;
            });
        })
        .ConfigureWebHostDefaults(webBuilder => webBuilder.UseStartup<Startup>());
Running the Orchestrator
Now we are able to run Alloy again and enjoy logging and tracing in Aspire Dashboard.
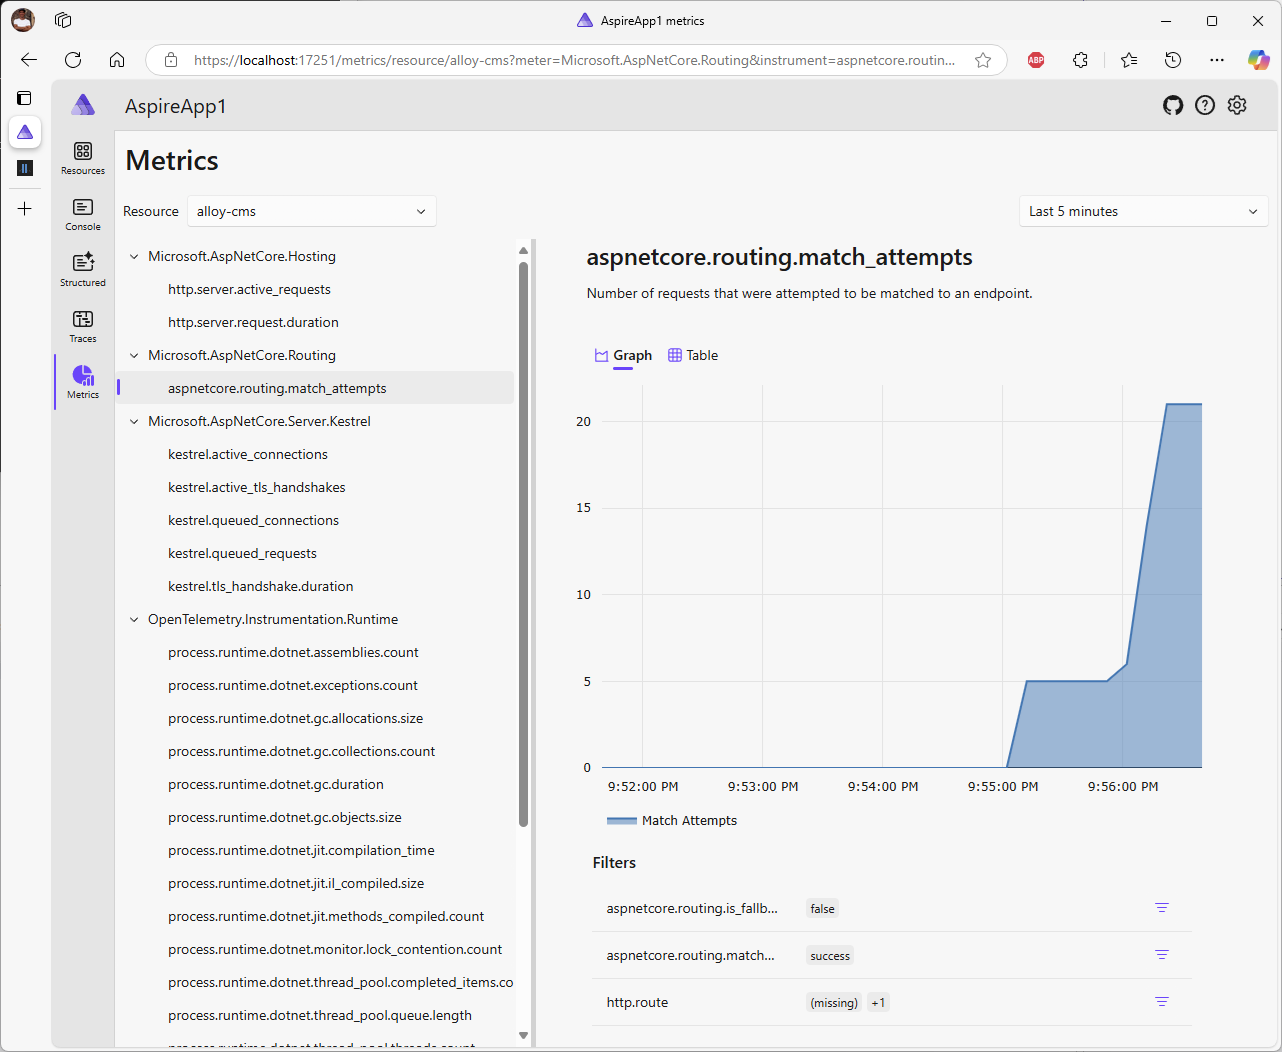
We can also check out traces and structured logging.

Checkout the Source Code
If you got lost in source code modification exercise - you can also checkout reference project for any hints you may need.
Happy asping!
[eof]
Comments powered by Disqus.